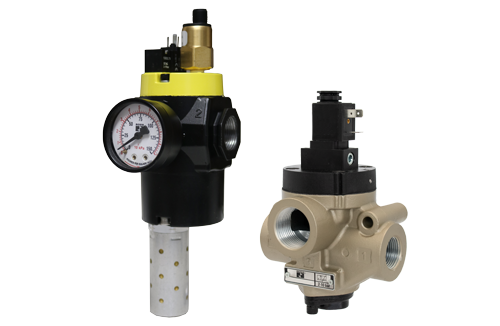
Valve Installation Tips
NOTE: Pneumatic equipment should be installed only by persons trained and experienced in the installation of such equipment.
Here are some of the most important tips for installing pneumatic valves to ensure proper performance and safety:
1. Safety Precautions
Depressurize the system before installation or maintenance. Follow lockout/tagout procedures for electrical connections.
2. Verify Specifications
Make sure the valve matches the system requirements (pressure rating, flow capacity, port size, and media compatibility). Check the technical installation instructions for installation guidelines.
3. Cleanliness is Critical
Ensure all piping and fittings are clean and free of debris before installation. Contaminants can damage seals and cause malfunction.
4. Correct Orientation
Install the valve in the correct flow direction (usually indicated by an arrow on the body). For directional control valves, confirm the actuator side and exhaust ports are properly positioned.
5. Secure Mounting
Use proper torque when tightening bolts—over-tightening can damage the housing. Mount the valve on a stable surface for base mounted valves to prevent vibration.
6. Proper Connections
Use the correct fittings and thread sealant (avoid excess sealant that could enter the valve). Ensure all connections are airtight to prevent leaks.
7. Pneumatic Connections
For air supply, ensure the pressure is within the recommended range and regulated. Maximum and minimum operating pressures and temperatures are specified for each type of valve. Staying within these limits contributes to longer valve life and proper operation. If you must exceed these limits, consult ROSS for advice on such service.
Valve Inlet: DO NOT RESTRICT AIR SUPPLY. Any restriction of the air supply lines (for example, sharp bends or clogged filter element) will reduce the speed with which the outlet volume is pressurized and can also cause the valve to malfunction.
Valve Outlet(s): For faster pressurizing and exhausting of the outlet volume, locate the valve as close as possible to the mechanism being operated. Any restriction in the outlet lines (for example, sharp bends or undersized lines) will reduce both pressurizing and exhausting speeds.
Valve Exhaust(s): DO NOT RESTRICT EXHAUST OF POPPET VALVES as this can cause the valve to malfunction. To reduce exhaust noise, use a silencer.
For proper operation, pilot pressure must not fall below the minimum specified for the valve. For poppet valves, pilot pressure must be at least equal to the main supply pressure. If a solenoid piloted valve must operate at a pressure lower than the minimum specified pilot pressure, an external pilot supply of adequate pressure must be used. Some ROSS valves automatically accept an external pilot supply, while others must be converted to such use.
Many ROSS valves can be used for vacuum service or with fluids other than air. Such applications require an external pilot supply.
8. Electrical Connections
For solenoid valves, verify voltage and wiring polarity. ROSS solenoids are rated for continuous duty at 85% to 110% of the voltage shown on the solenoid coil. Multi-rated solenoids (e.g., 110-120 volts) are rated for continuous duty at 85% to 110% of the maximum voltage shown. A supply voltage that does not fall within this range can lead to faulty valve action or solenoid burnout. If electrical power is supplied by a separate transformer, it must be capable of handling the inrush current of the solenoids without significant voltage drop.
9. Lubrication & Filtration
It is recommended that a 5-micron air filter be installed in the inlet line close to the valve as dry, clean air extends valve life and prevents sticking. Install a lubricator upstream only if required by the application.
10. Test Before Full Operation
Slowly pressurize the system and check for leaks. Cycle the valve several times to confirm proper operation.
For more information, contact ROSS.